"I’ve been looking for a natural and affordable solution for my skin, and this ACV toner sounds like a great…
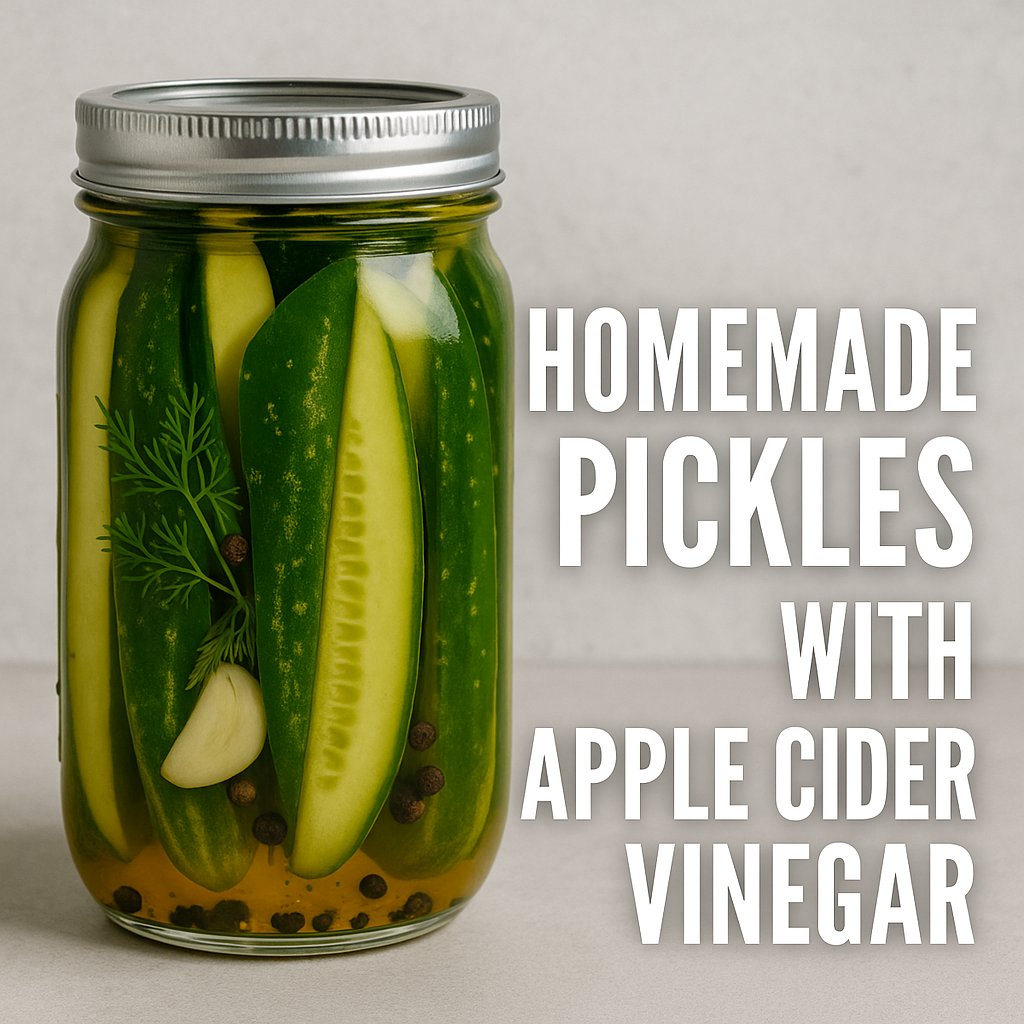
Homemade Pickles with Apple Cider Vinegar
- Home
- Homemade Pickles with Apple Cider Vinegar

Homemade Pickles with Apple Cider Vinegar
Homemade Pickles with Apple Cider Vinegar – A Tangy & Healthy DIY Recipe
Pickling is an age-old tradition, used for preserving vegetables and adding zesty flavors to meals. While there are numerous pickling methods, homemade pickles with apple cider vinegar stand out for their tangy taste, potential health benefits, and natural preservation capabilities. Whether you’re a seasoned homesteader or a kitchen novice, this post will guide you step-by-step in creating your own jar of crunchy, flavorful pickles from scratch.
In this guide, we’ll explore:
- The benefits of using apple cider vinegar
- The different types of vegetables you can pickle
- A step-by-step guide to making your pickles
- Common mistakes and how to avoid them
- FAQs and variations
- Storage tips and how to know when your pickles are ready
Why Use Apple Cider Vinegar for Pickling?
Apple cider vinegar (ACV) is not just a pantry staple. It’s a healthful, acidic solution made from fermented apple juice, with a tangy flavor that enhances vegetables without overpowering them.
Benefits of Using ACV for Pickles:
- Health Benefits – ACV contains acetic acid, known to support digestion, blood sugar control, and potentially antimicrobial properties.
- Natural Probiotics – Raw, unfiltered apple cider vinegar contains “the mother,” a colony of beneficial bacteria that support gut health.
- Mild and Tangy Flavor – Compared to white vinegar, ACV offers a slightly sweet and complex taste.
- Versatility – Works well with cucumbers, carrots, onions, radishes, and even fruits like apples or pears.
What Vegetables Can You Pickle with Apple Cider Vinegar?
The beauty of homemade pickling is its flexibility. Here are some vegetables that work wonderfully with apple cider vinegar:
- Cucumbers – The classic choice; use pickling cucumbers for the best texture.
- Carrots – Sweet and crunchy, perfect with ginger or garlic.
- Radishes – Peppery and colorful, they pickle quickly.
- Onions – Red onions turn a vibrant pink hue when pickled.
- Green beans – Crisp and zesty, great for cocktails or snacking.
- Cauliflower – Absorbs flavor and adds texture.
Want to get creative? You can also try pickling fruits like apples, mangoes, or even watermelon rinds.

Equipment and Ingredients
Before you dive into pickling, gather the following essentials:
Equipment:
- Glass jars with airtight lids (Mason jars work best)
- Saucepan
- Measuring cups and spoons
- Knife and cutting board
- Funnel (optional but helpful)
Basic Ingredients:
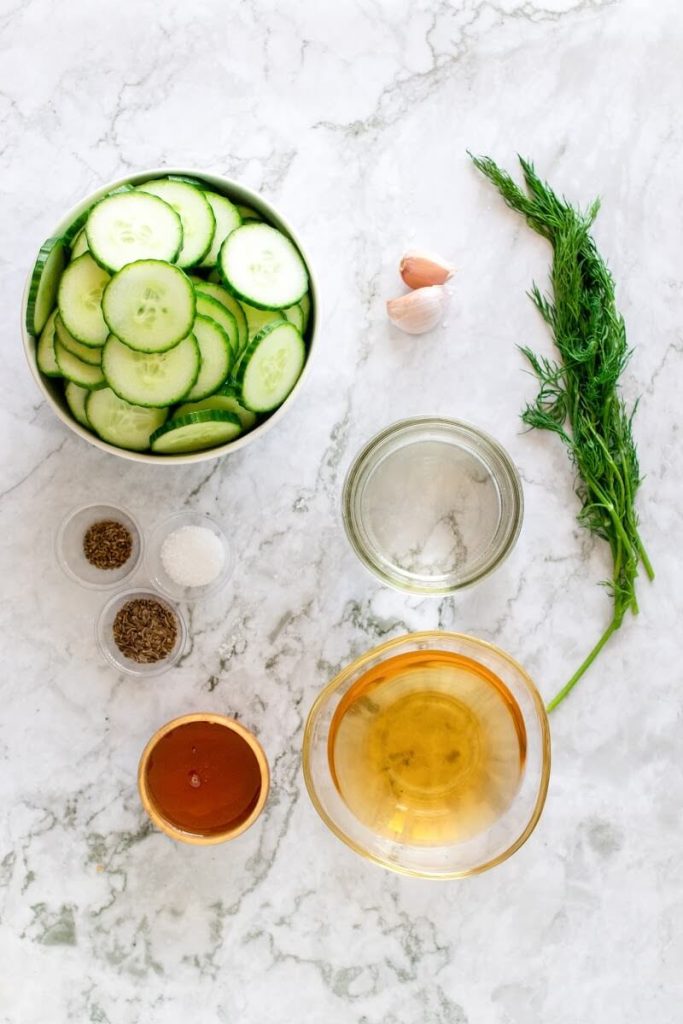
- 2 cups apple cider vinegar (preferably raw and unfiltered)
- 1 ½ cups water
- 1 tbsp salt (non-iodized, such as sea salt or pickling salt)
- 1 tbsp sugar (optional, but balances acidity)
- Fresh vegetables of your choice (about 4 cups chopped)
- Garlic, dill, peppercorns, mustard seeds, bay leaves, or other spices (for flavor)
How to Make Homemade Pickles with Apple Cider Vinegar
Step-by-Step Instructions:
Step 1: Prep Your Vegetables
Wash all vegetables thoroughly. Trim, peel, or slice depending on the type:
- Cucumbers: Slice into spears or rounds.
- Carrots: Peel and slice into sticks.
- Onions: Thin rings or slices.
- Radishes: Thinly sliced for fast pickling.
Step 2: Sterilize Your Jars
Boil your jars and lids for 5–10 minutes or run them through a hot dishwasher cycle. This ensures no unwanted bacteria interfere with your pickles.
Step 3: Prepare the Pickling Brine
In a saucepan, combine:
- 2 cups apple cider vinegar
- 1 ½ cups water
- 1 tbsp salt
- 1 tbsp sugar (optional)
Bring to a boil, then reduce to a simmer until salt and sugar dissolve completely. Remove from heat.
Step 4: Add Flavorings
Place spices at the bottom of each jar. Try combinations like:
- 2 cloves garlic, 1 tsp mustard seeds, a sprig of dill
- ½ tsp peppercorns, a bay leaf, and chili flakes for heat
Step 5: Pack the Jars
Tightly pack your vegetables into the jars, leaving about ½ inch of headspace. Don’t crush them—just a firm fit.
Step 6: Pour the Brine
Using a ladle or funnel, pour hot brine over the vegetables, covering them completely. Tap the jars or use a spoon to remove air bubbles. Seal jars tightly.
Step 7: Let Them Sit
Allow jars to cool at room temperature, then refrigerate. Pickles can be eaten after 24 hours but are best after 3–5 days of marinating.
Tips for Perfect Pickles Every Time
- Use fresh produce – Old or soft veggies won’t retain crunch.
- Don’t skip the salt – It enhances flavor and preserves vegetables.
- Keep them submerged – Ensure all veggies stay under the brine to prevent spoilage.
- Experiment with herbs – Fresh dill, thyme, or oregano add unique touches.
- Use wide-mouth jars – Easier to pack and remove pickles.
Common Pickling Mistakes to Avoid
| Mistake | Why It’s a Problem | How to Fix It |
|---|---|---|
| Using table salt | Contains additives that cloud brine | Use pickling salt or sea salt |
| Overcooking the brine | Alters the flavor of vinegar | Just dissolve salt and sugar |
| Not sterilizing jars | Risk of spoilage or mold | Always clean jars properly |
| Skipping spices | Pickles taste flat | Add whole spices and herbs |
| Not labeling jars | You’ll forget the date | Write the date on each lid |
Creative Variations of Apple Cider Vinegar Pickles
Once you master the basic recipe, explore these fun variations:
1. Sweet & Spicy Pickles
Add:
- 2 tbsp honey or maple syrup
- 1 sliced chili or ½ tsp red pepper flakes
2. Asian-Inspired Pickles
Add:
- 1 tbsp grated ginger
- 1 tsp soy sauce
- A dash of sesame oil
3. Curry Pickles
Add:
- 1 tsp curry powder
- ½ tsp turmeric
- ¼ tsp cumin seeds
4. Mexican-Style Pickled Carrots
Add:
- Sliced jalapeños
- Garlic cloves
- Mexican oregano
Are Apple Cider Vinegar Pickles Fermented?
No—there’s a difference between fermented and vinegar pickles. Fermented pickles use saltwater and natural bacteria to create lactic acid, preserving the food over time. Apple cider vinegar pickles use acetic acid from the vinegar, offering quicker results and a distinct tangy flavor, but fewer live probiotics unless you use raw vinegar and avoid boiling it.
Storage Tips
- Store pickles in the refrigerator for up to 2 months.
- Always use a clean fork to remove pickles to avoid contamination.
- If brine becomes cloudy, bubbly, or smells off, discard the batch.
FAQs
Can I reuse the brine?
Yes, but only once. Reboil it, add fresh vinegar and salt if needed, and use it within a few days.
Can I make these pickles shelf-stable?
Yes, but it requires proper canning methods. Water-bath canning with sterilized jars and seals is necessary for room-temperature storage.
Are these pickles keto or low-carb?
Yes, if you omit the sugar or use a sugar substitute.
Can I pickle fruits with this method?
Absolutely! Try apple slices, peaches, or pears for a unique sweet-and-sour snack.
Conclusion: A Tangy Tradition Worth Trying
Making homemade pickles with apple cider vinegar is more than just a kitchen experiment—it’s a delicious, healthy tradition that lets you control the ingredients and flavors in your food. With a few simple steps and quality ingredients, you can enjoy tangy, crunchy pickles that are free of preservatives, packed with flavor, and customizable to your taste.
So grab a jar, slice some cucumbers, and bring the zing of homemade pickles into your life. Your tastebuds—and your gut—will thank you!
- Share
